In Standalone VR
IMPORTANT:
Testing with Android
You can test your Experience on your standalone target device by utilizing the GEM Launcher. This allows you to test Builds with VR controls and connecitivity between different devices that do not run on the same machine. This test workflow comes closest to the final production environment.
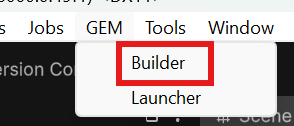
- You need to build a windows or linux Server and android Client target. Navigate to GEM -> Builder to open the GEM Builder.
 {width="147" height="63"}
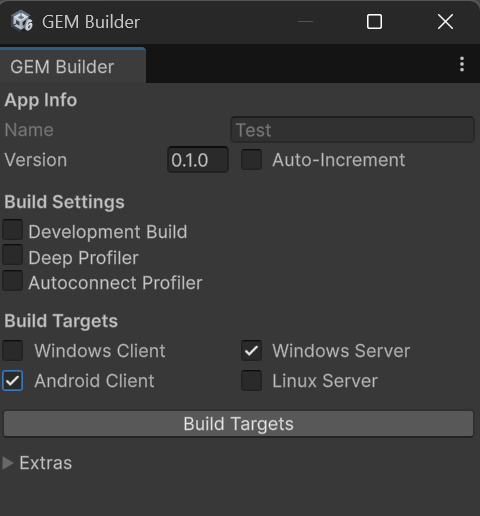
- Check "Android Client" and "Windows Server" (or "Linux Server" if you run GEM on linux). Afterwards, hit "Build Targets". This auto-configures the export directory for a GEM Experience and generates the gem_manifest.yaml required by GEM.
 {width="240" height="258"}
- If the build was Successful, your Explorer will open and show a WindowsClient folder, a WindowsServer (or LinuxServer) folder and a gem_manifest.yaml.
- Install the AndroidClient/{appname}.apk on your standalone VR device.
- Launch the apk on your standalone VR device.
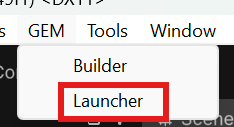
- Navigate to GEM -> Launcher
 {width="117" height="64"}
Without GEM
Running the android app with the GEM Simulator requires some extra steps on the device to disable GEM. Ensure to follow these steps for every device you are testing with.
- Ensure the .apk was launched at least once on your device to generate the GEM configuration files in the apk's storage directory.
- Connect your standalone device to your computer
- open a file browser for your standalone device. Custom software such as SideQuest might have to be installed for this if the device storage is hidden.
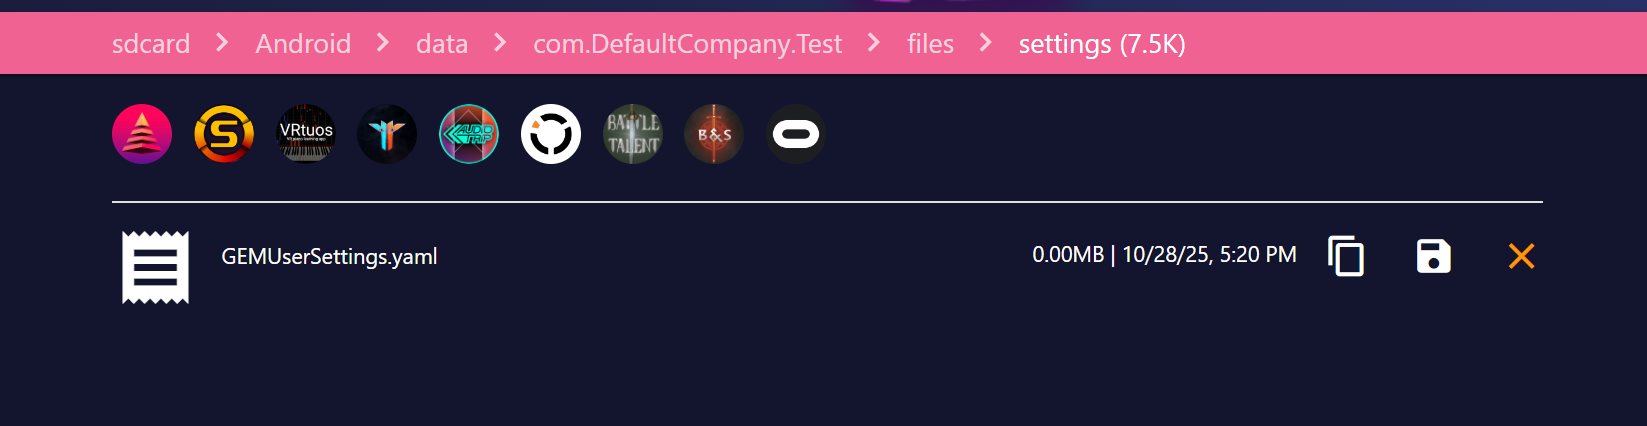
- Navigate your file browser to the android device's apk data path. This should usually be at /Android/data/com.{companyname}.{appname}/files/settings/ You can see your companyname and appname in your Project Settings -> Player. Keep in mind that your android Identification might be overriden with "Override Default Package Name".
- In this folder, you should now find "GEMUserSettings.yaml". Edit it with any text editor. With sidequest, the file needs to be downloaded, edited, and then uploaded again.
 {width="824" height="213"}
- Modify "useGEM: true" to "useGEM: false".
- (optional) Modify "releaseMode: true" to "releaseMode: false". This enables the debug-mode of GEM and prints you more information on the Startup_Client scene than otherwise visible to the end-user and helps you debug in-headset.
- (optional) Modify "debugLevel: 0" to "debugLevel: 1". This enables "Minimal" Debug level of GEM Debug prints.
- Modify "useOverride: false" in "overrideGameServerAddress:" to "useOverride: true".
- Modify "Modify Address: 127.0.0.1" to the local ip address of the device that runs your unity editor. You can view it by opening a windows cmd and typing "ipconfig". You want to use the ipv4 address assigned to your device by your router.
You can read about the other configuration options in at Configuration File.
- Save the edited configuration and upload it to the device.
- launch/restart the app. Instead of "Discovering GEM", your application should now immediately start the height calibration and then attempt to connect to the gameserver.
- Return to the GEMLauncher window in Unity.
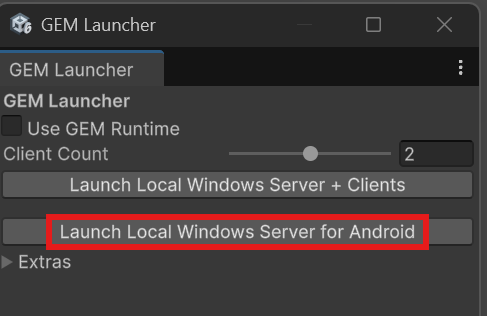
- Uncheck "Use GEM Runtime" if it is checked.
- Select the amount of android devices that you would like to test with. The maximum amount is defined by the "Max Players" in Project Settings -> Group Experience Manager.
- Hit "Launch Local Windows Server for Android"
 {width="244" height="158"}
Your device should now have successfully connected to your server with GEM Simulator enabled and you should be able to proceed with the zones without having GEM installed.
With GEM
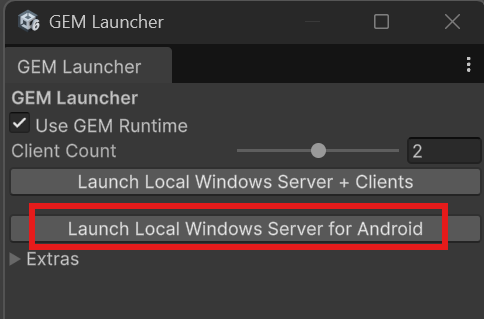
- Check "Use GEM Runtime" if it is unchecked.
- Select the amount of android devices that you would like to test with. The maximum amount is defined by the "Max Players" in Project Settings -> Group Experience Manager.
- Hit "Launch Local Windows Server for Android"
 {width="242" height="160"}
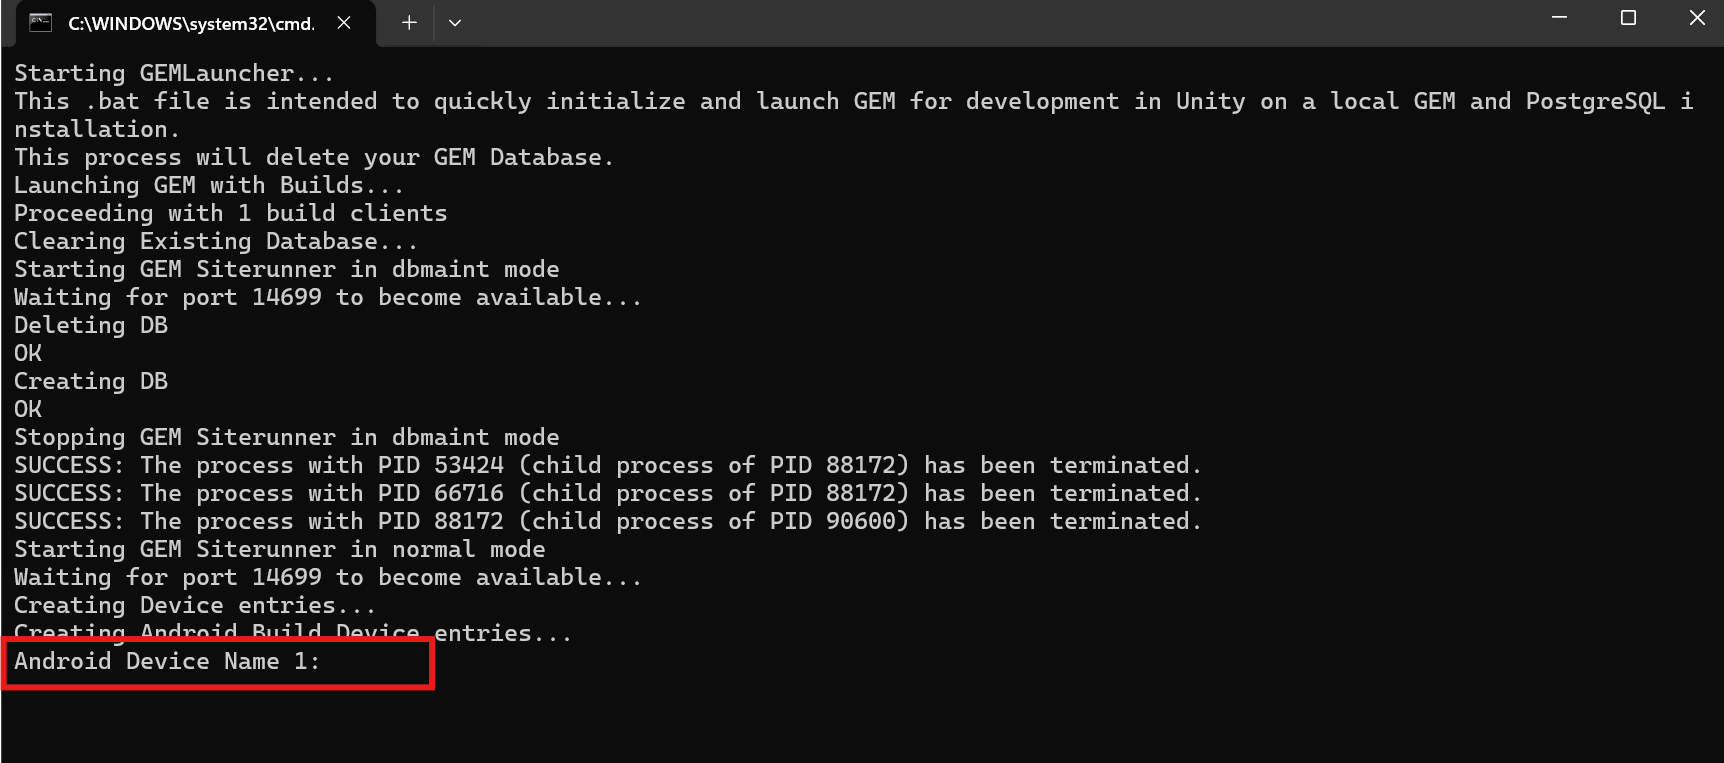
- The .bat launcher will require you to input the device name(s) of the android devices you are testing with. If you do not know your device name, the launched .apk should display the device name after it has discovered GEM.
 {width="862" height="382"}
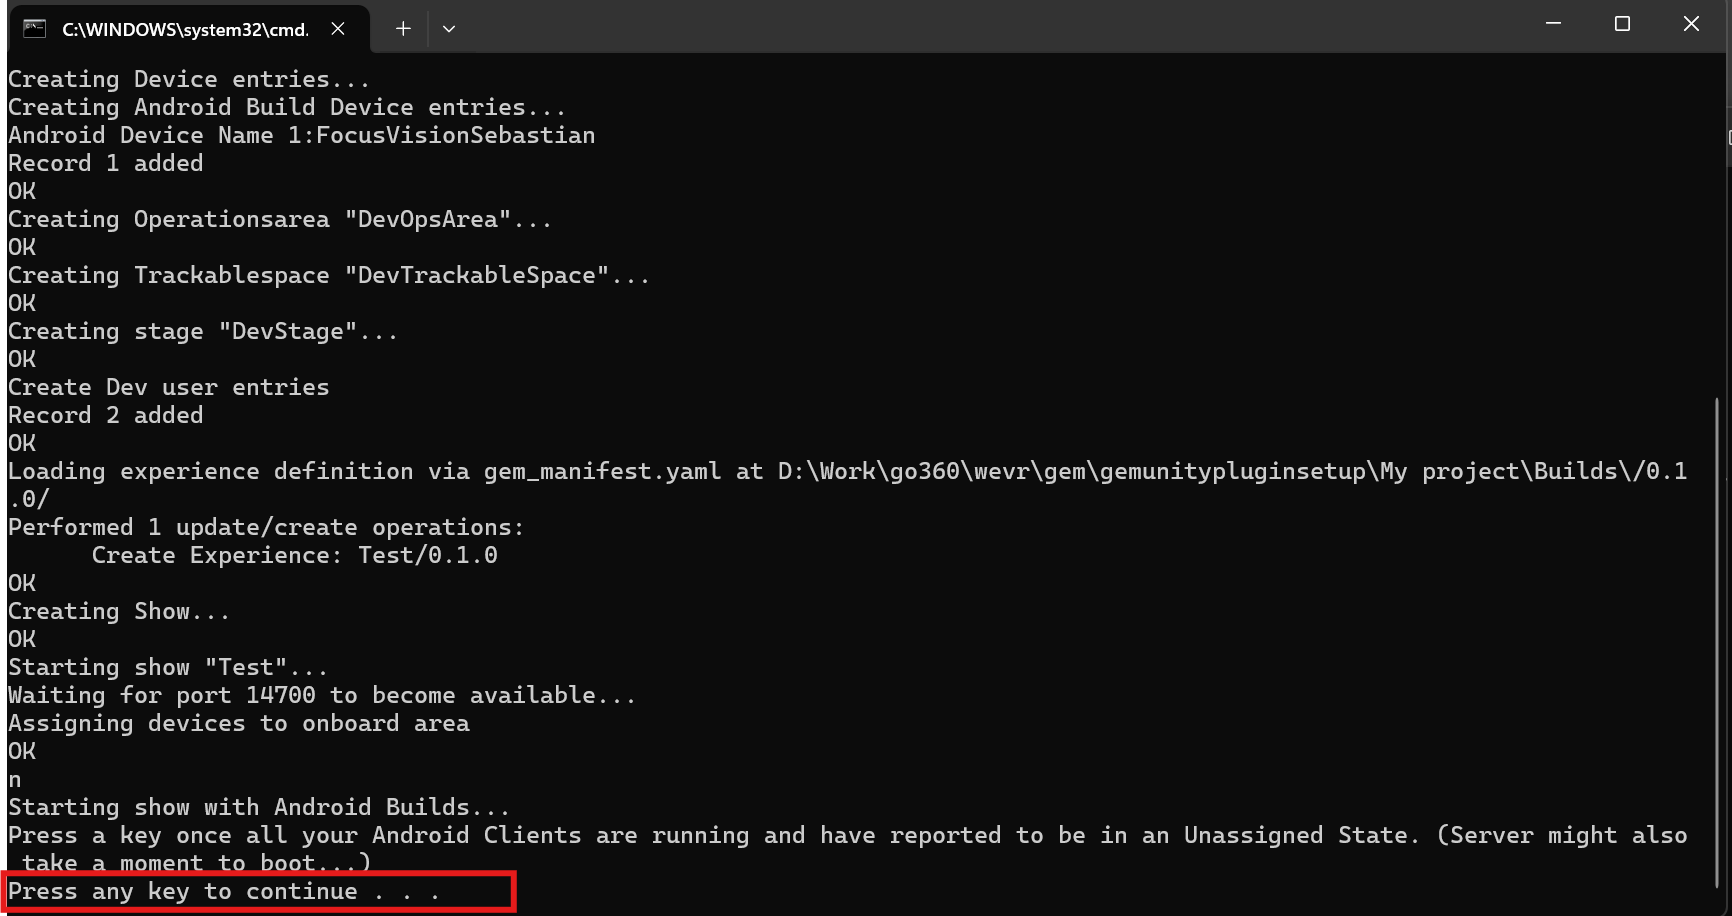
- The .bat launcher will pause again afterwards. After all android devices are displaying the "Unassigned" state, continue the .bat launcher
 {width="866" height="458"}
- Your standalone VR device should now perform the height calibration and then connect to the Gameserver. The experience should now be playable with your standalone VR device and you can observe it in the GEM Dashboard.
 {width="1736" height="974"}
You can now test GEM API calls in-device such as emergency passthrough mode or deboarding and slideapp. The example playerpawn also allows you to move and rotate artificially with your VR controller's thumbsticks to go through the experience.